
TYING THE DOUBLE DOWN LOOP KNOT
I use this nomenclature because this
knot is tied using a doubled line and produces two knots - a main loop knot and
a secondary loop knot which may be used for paternoster links or trimmed
together with the single line tag end. This secondary loop tested to half the
breaking strain of the main loop and is something of a by-product as my main
focus is on presenting a high-performance loop that will work across all line
types.
From its chance beginnings, this knot has rapidly grown in my affections to the point where I am now viewing it as the best loop knot in my collection. It was chance when I pulled on a Cow Hitch wrapped around my finger and realised that, even though I had two loops, one would close before the other leaving one remaining; it was literally a 'last throw of the dice' when I tried using a doubled line. Until that moment, the results I was obtaining on my fine braid were very ordinary, and as I already had some good knots, I was not going to dilute the experience by recommending something sub-standard.
Once I was using the doubled line - and that took a little figuring out - I was back on familiar ground as I then followed the same tying method as I did when constructing my Tuna Loop Knot.
Make no mistake, the Tuna Loop Knot is still a very good knot and one that I have used extensively. Any knot that will give you 9 lbs b/s on an 11 lbs braid line even when you are expecting 10 lbs plus b/s is not too bad! But a quick comparison with The Double Down Loop Knot will serve to demonstrate the key differences between them and why there is only one choice to make ...
- CONSISTENCY - compared with the DDL the TLK is
a more 'free-flowing' knot. It seems to require the doubled-line wraps
going outwards to be applied with moderate tension. If tied carefully with
a specific number of wraps and tucks, you could expect to see a knot
pulling over 10 lbs b/s. Sometimes, though, I felt like I was doing
everything right but still not accessing this performance. In particular,
I remember a day in the summer when I was sweating and the additional
moisture on my fingers was affecting the outcome. The DDK comes
with a built-in pinch point in the form of the Cow Hitch that
starts it and seems to add consistently higher performance in consequence
- ADJUSTABILITY OF LOOP
- this is an aspect that does not trouble most
people when using fine braid. They are happy just to have a loop knot that
works well! I am more fastidious. Because the TLK is
freer internally and without the benefit of a secondary loop, it means
that its loop can stretch by several millimetres when being cinched
which is not always what one wants. The DDK appears to
offer a choice at time of cinching - pull on the main loop first will
stretch it out quite a lot; pulling on the secondary loop first takes up
all the slack line leaving the primary loop the size you see
- TRACTION - the difference in the number of wraps required for each knot is
suggestive that one is providing more internal grip than the other - TLK requires
x30 doubled-line wraps + x3 tucks; DDK x20 doubled-line
wraps + x2 - x3 tucks to give a higher level of performance more
consistently
- EYELET / HOOK / SWIVEL LOOPING - having the option of tying your loop through the eye of your chosen attachment so that it has freer movement is important to many, especially lure fishers. This is not really feasible with the TLK, would be hard work with a King Sling on mono or fluoro, and out of the question using fine braid as the medium. The DDK with its Cow Hitch starting point makes light work of this requirement - as we shall see
In fact, as I have just touched upon
this loop knot's suitability for accepting the likes of lures within the
confines of the loop itself, I wish to take a few moments to demonstrate this.

|
01  Form a loop in your line. Then turn the loop back
on itself to form the two loops shown - one controlled by the main line, the
other by the tag end. This is the the default starting point for this knot and
familiarizes you with the sequence that follows. The scissors are in shot as
the object through which our loop will be tied |
|
02  Since we wish to tie our loop through something, we
make the main-line loop first as shown |
|
03  Now thread the tag end through the eye of the
object to be attached and back under itself to form the default starting point
- the other loop is left free to cinch the knot when the time comes |
|
04  Place your finger through both loops adjusting the
tag end loop to the same size as the main-line loop. You are now ready to
proceed with tying the remainder of the knot as usual |
Okay, now that I have shown you how to
include attachments within the confines of the loop, let's proceed with the
steps you need to follow to complete the rest of the knot. As ever, the
real-world tying with braid will follow.
(click on photos to expand - click on book marks to switch between equivalent photos)
 Form a loop in
your line. Allow yourself at least 10" for the main and another 10"
on the tag side. With practice, you will know just how much to pull off. Your
aim is to comfortably hold the tag side and the main-line side together during
tying. This will make adding the wraps easier and ensure that you have enough
tag length to lay down your Cow Hitches to provide an
additional layer of energy absorption behind the main loop |
 I like to spread
the loop with my thumb and forefinger as shown |
 Taking the main
line and tag with your other hand and applying light tension, spread your thumb
and forefinger a little more so that each is on the outside of the line
nearest. Gently bring each of the loops so-formed towards its fellow causing a
loop to be around each digit
Alternatively, if
you prefer, you can make your loop as before, and then take the head of the
loop back on top of itself, and then place your thumb and forefinger into each
loop from above |
04  Now bring your
forefinger which is occupying the main-line loop up through the tag loop as
well. This is the default starting point.
This is also
the pinch point that distinguishes this knot from its close
cousin, The Tuna Loop Knot |
|
05  Still holding your
finger in place, take the tag end with your other hand and thread it through
the two loops formed earlier, bringing it out the other side. In doing so, you
will see that a secondary loop is formed. This is your doubled-line wrapping tag
loop which will turn out to be the secondary loop mentioned above.
At this stage, it
is important to meter out sufficient single tag-line length (on the other side)
for you to hold comfortably in your hand with the main line |
|
06  Now bring the tag
end towards you up over the the two loops, threading it back the way it came
through the twin loops and out the other side. It is worth noting that when I tried to dispense with this step on my fine braid (0.08 mm 11 lbs b/s), there was a noticeable drop in performance |
|
07  Place the
single-line tag end beside the main line on one side and the wrapping tag loop
on the other as shown. I like to moisten all the lines in play |
 Shown here is the
first of the outward wraps. For fine braid, I use x20 outward wraps. As the
line strength increases in whichever line material being used, so does the line
diameter. This usually means that the number of wraps required will decrease in
number. By the time you tie a standard Tuna (hook) Knot, the
number of wraps has reduced to around three! To start with, you will have to
follow your gut feeling as to what number of wraps to deploy |
|
09  Continue with the
outward wrapping. Keeping a moderate tension all the while, I like to stop
every three wraps and push the wraps tight to the preceding ones. If the line
is very fine, I use my thumbnail |
|
10  Once you have
completed the desired number of outward-going wraps, you can then start on the
inward-coming. With fine braid, I usually lay down about x4, but even with
thicker lines, x3 should suffice |
 Take the knot
between thumb and forefinger with your dominant hand in preparation to make 2-3
tucks with the tag loop around the base of the two loops |
 Shown here is the
first tuck being laid down. Typically, for fine braid, I would be using x3
tucks. As the line becomes thicker the stronger it gets, so you may consider
using less tucks |
|
13  And here, the second tuck has been added |
|
14  Here, I am pulling
on the main line to close the corresponding main-line loop. If you zoom in on
the photo, you can see that the loop furthest away has decreased in size as it
is being tightened down |
|
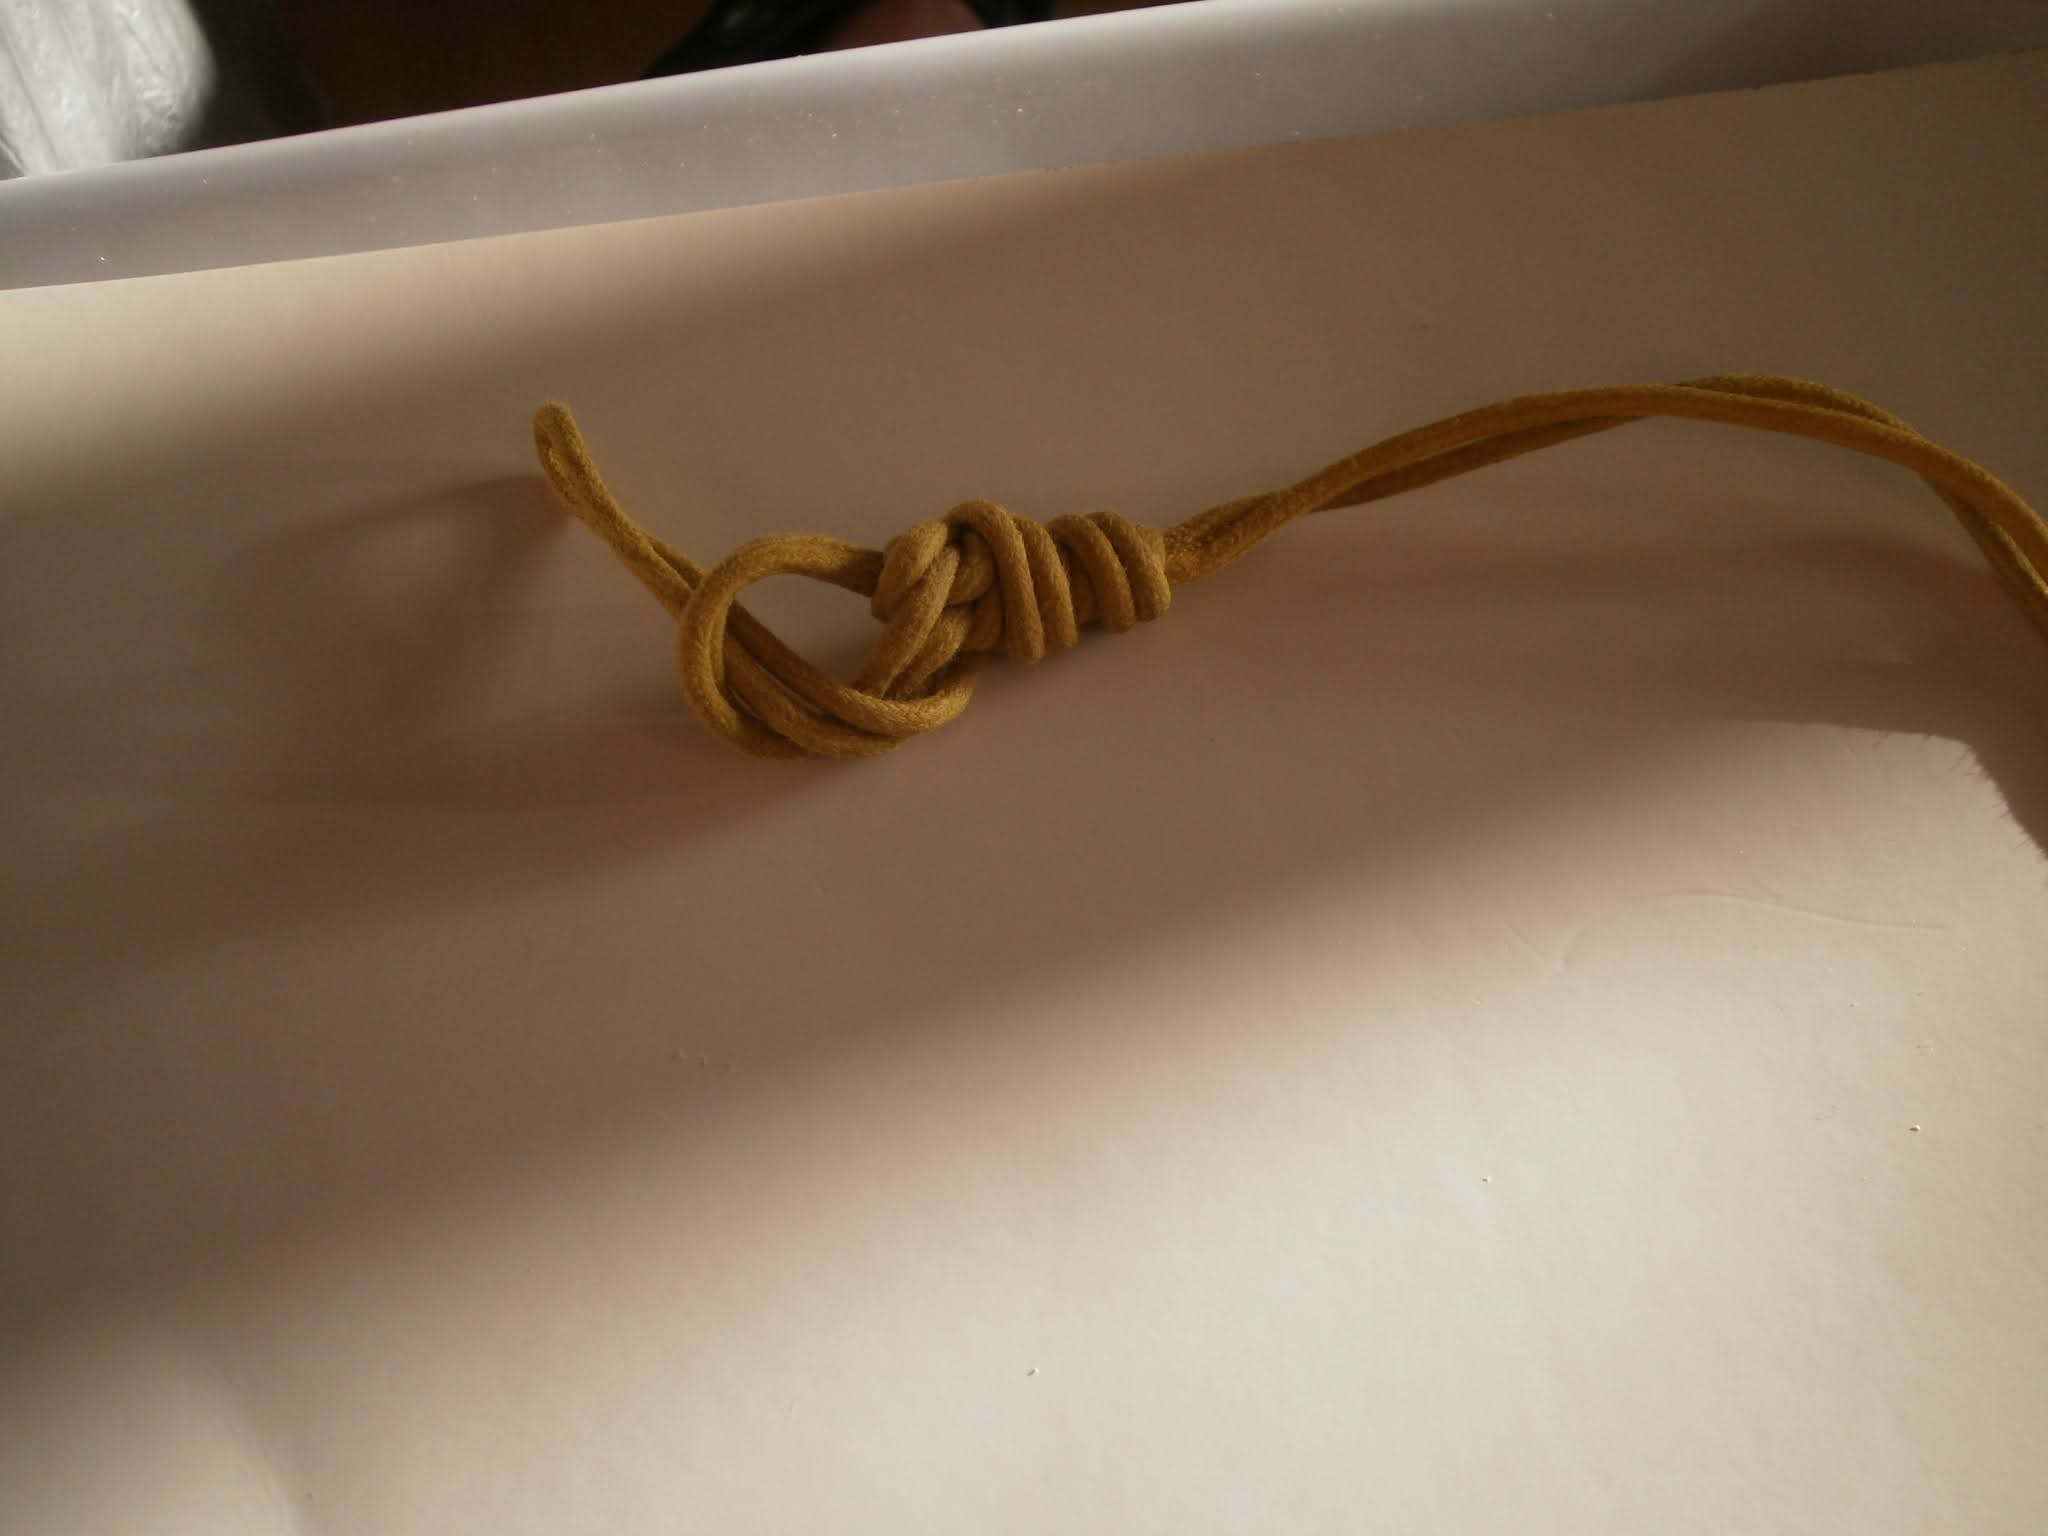
15  Here we see the
classic image of the Double Down Loop Knot - main knot and
secondary knot side by side |
 I find that
holding the tag line and main line with one hand, and pulling on the secondary
loop with my other hand, takes out a lot of the slackness in the knot.
Then, when it is the turn of the main knot to be cinched, it will hardly stretch at all. The converse also seems to be the case - if the main knot is cinched first, it will stretch a lot leaving little movement on the secondary loop |
 Final cinching.
With braid especially, you need something solid to hold the loop while you are
pulling against it - I use the hook of my scales. Despite pulling both loops in
the opposite direction to the man line and tag end, you may be surprised to see
that there is still a lot of hidden reserves of slackness within the knot. Once I have added
the Cow Hitch lock knot behind the main loop knot, I will use
my scales to pull the main loop knot out to about 80% of the line strength,
i.e. 9 lbs on my 11 lbs b/s line. This quality checks the knot and releases
some of the 'give' within it.
Of course, with
heavier lines, this is not so easy to do, but then, being thicker in diameter,
they will be gripping better in the first place so probably don't need as much
stretching out as fine braid does |
|
18  On my fine braid,
I like to use between x20 and x30 reversed half hitches to form the Cow Hitch lock knot - each Cow
Hitch comprises a pair of reversed half hitches. Unlike ordinary wraps
which are applied in one direction at a time, you need to keep track of how
many half hitches you have applied and where you are in the 'reversal process'. It sounds
complicated but is easy enough to do once you follow this mnemonic: 'over is 1,
under is 2, over is 3, under is 4, over is 5, under is 6, over is 7, under is
8' etc.
Shown above is
the over-is-1 part of the Cow Hitch -
you take the tag end over the main line to form the first part of the Cow
Hitch |
19  Shown above is
the under-is-2 part of the Cow Hitch -
because you take the tag end under the main line to form the closing part of
the Cow Hitch. Sooner or later,
you will be distracted and lose your place. This is easily remedied. The odd
numbers are always over and the even numbers will
always be under. Provided you remember the number you are
on, you can work out whether the next hitch is to be over or under.
Remember, with
fine braid, you won't know which is which by simply looking, so that is why the
above mnemonic will be useful |
 Look carefully at the back of the knot. There is the first completed Cow Hitch |
|
21  Once you have
added all the Cow Hitches you plan to, and still leaving the
second wrapping loop and single tag end untrimmed, test the strength of your
knot. If I am making
hook lengths at home, for example using fine braid still on the spool, I will
tend to test each loop knot to 80% (9 lbs b/s) of the line's strength. You can do the
same for loops tied to the end of your main line. In this scenario, I prefer to
wrap the main line sufficient times around something solid to grip before
pulling on the scales. This will prevent the braid burying itself into the line
on your reel spool. |

Tying knots with shoelace braid is good for
memorizing the knot but bears little similarity with tying it for real on the
line of our choice.
For this reason, I think it will be helpful to remind ourselves what we are trying to achieve.
Accordingly, I am presenting you with a photo showing
the Double Down Loop Knot tied both with braid and mono:

Note how the braid knot is long and thin owing to the thinness of the material and number of wraps. By contrast, the 20 lbs mono is much shorter and thicker because the line grips that much better.
Okay, time to show you the steps to
follow using the braid. You will be referred back to the shoe-lace braid photos
above as appropriate.
RECIPE
- x20 outward turns + x4 inward turns
+ x3 tucks
- x20 - x30 Cow Hitch lock
knot
(click on photos to expand)
 Early on, it's probably a good idea to check with a
ruler how much line you are using with each repeat of the knot. As you get more
proficient, you will automatically pull off just sufficient to suit your
purpose |
 |
03  |
|
04  |
|
05  |
|
06  |
|
07  |
 |
 |
|
10  |
 |
12  |
 |
 |
|
15  |
16  |
 |
 |
 |
 |
|
21  |
 |
|
23  Unlike its lace
counterpart, you cannot easily see which type of hitch you have just laid down.
That's why you need the mnemonic mentioned above |
|
24  Here is the completed loop prior to full cinching. Accordingly, both single and wrapping loop tags have been left in place. A x30 hitch Cow Hitch lock knot has been provided for additional security. The nail clippers are in shot to offer a sense of scale - after tying knots with this thinness of line, all other line types seem like rope by comparison! Tying any knot on this line will always be challenging no matter how experienced you are, but the feeling of pride you get from achieving what few dare to try is second to none. It is only natural that you will wish to check you have achieved your bench-mark performance level, and is required as part of the final cinching |
 I bench-mark tested the knot to 9 lbs b/s. At this point, I would cut off the tag ends |
 I
reset the Crocodile Hitch lock knot and then pulled it all the
way round to over 10 lbs b/s just to show that there was still plenty of
strength left in the knot after bench-mark testing |
- Using x4 turns made by the single tag end at the start of the knot.
- Using x33 (x25+x8) outgoing wraps - bunching with thumb nail ever two wraps.
- Using x4-x6 inward wraps.
- Using x3 tucks prior to cinching.
No comments:
Post a Comment